Patio Makeover/ Part One - the Design Idea and the Build.
Patio Makeover/ Part One - the Design Idea and the Build.
Back in March 2019 we started transforming the last part of our garden and the one area that I had been itching to make over the most!
The patio area nearest the house was a pretty sad place; a mouldy cracked patch of tatty concrete slabs and mismatched pots with half dead plants and falling apart dated furniture. It had been on my wish list for years to transform it but the expense had meant we had to wait.
This is my moodboard I created at the time to get an idea of the look I wanted to create out here. As you can see the L shaped seating area was the stand out feature that the space would revolve around. The whole look is similar to my interior style of my house so I wanted there to be a cohesive feel between the two areas.

We knew we wanted a stone patio rather than decking which was always going to be the most expensive part. I also knew I wanted to create a cosy outdoor living space, a living room but outdoors! I also wanted a bohemian global feel. So even if we did have our usual rainy grey British summers we could still (at a push and with some imagination and probably a fire pit!) Imagine we were on holiday, a bit of Bali in Birmingham as I described my vision to the OH (he did look at me a bit funny when I said that to be honest but I could completely imagine it in my head!)


Over the last few years gardening has hugely increased in popularity, especially over the last year of lockdown. We’re increasingly spending more time at home (ALL of our time at home right now!) And most of our socialising will be spent there over the coming months.
So once I had put a mood board together to focus my mind on the look I wanted to achieve - An outdoor living room, tropical planting, black fencing and planters, comfortable seating we would create ourselves (more of that in my next blog post) Decorative touches to create an eclectic global feel - think outdoor mirrors, rattan lanterns, atmospheric cosy lighting, lots of pattern and texture with rugs and soft furnishings and my most desired addition, a beautiful Balinese style parasol as the centrepiece.
So first of all we called in a local firm Betel Gardens to lay the patio. They are a local charity that help reintroduce men and women affected by drug and alcohol addiction and homelessness back in to the work force. All of the proceeds from Betel go back to the charity to help change lives. So not only do they provide a professional garden service but are also a really good cause. I’ve used them three times now and can’t recommend them highly enough.

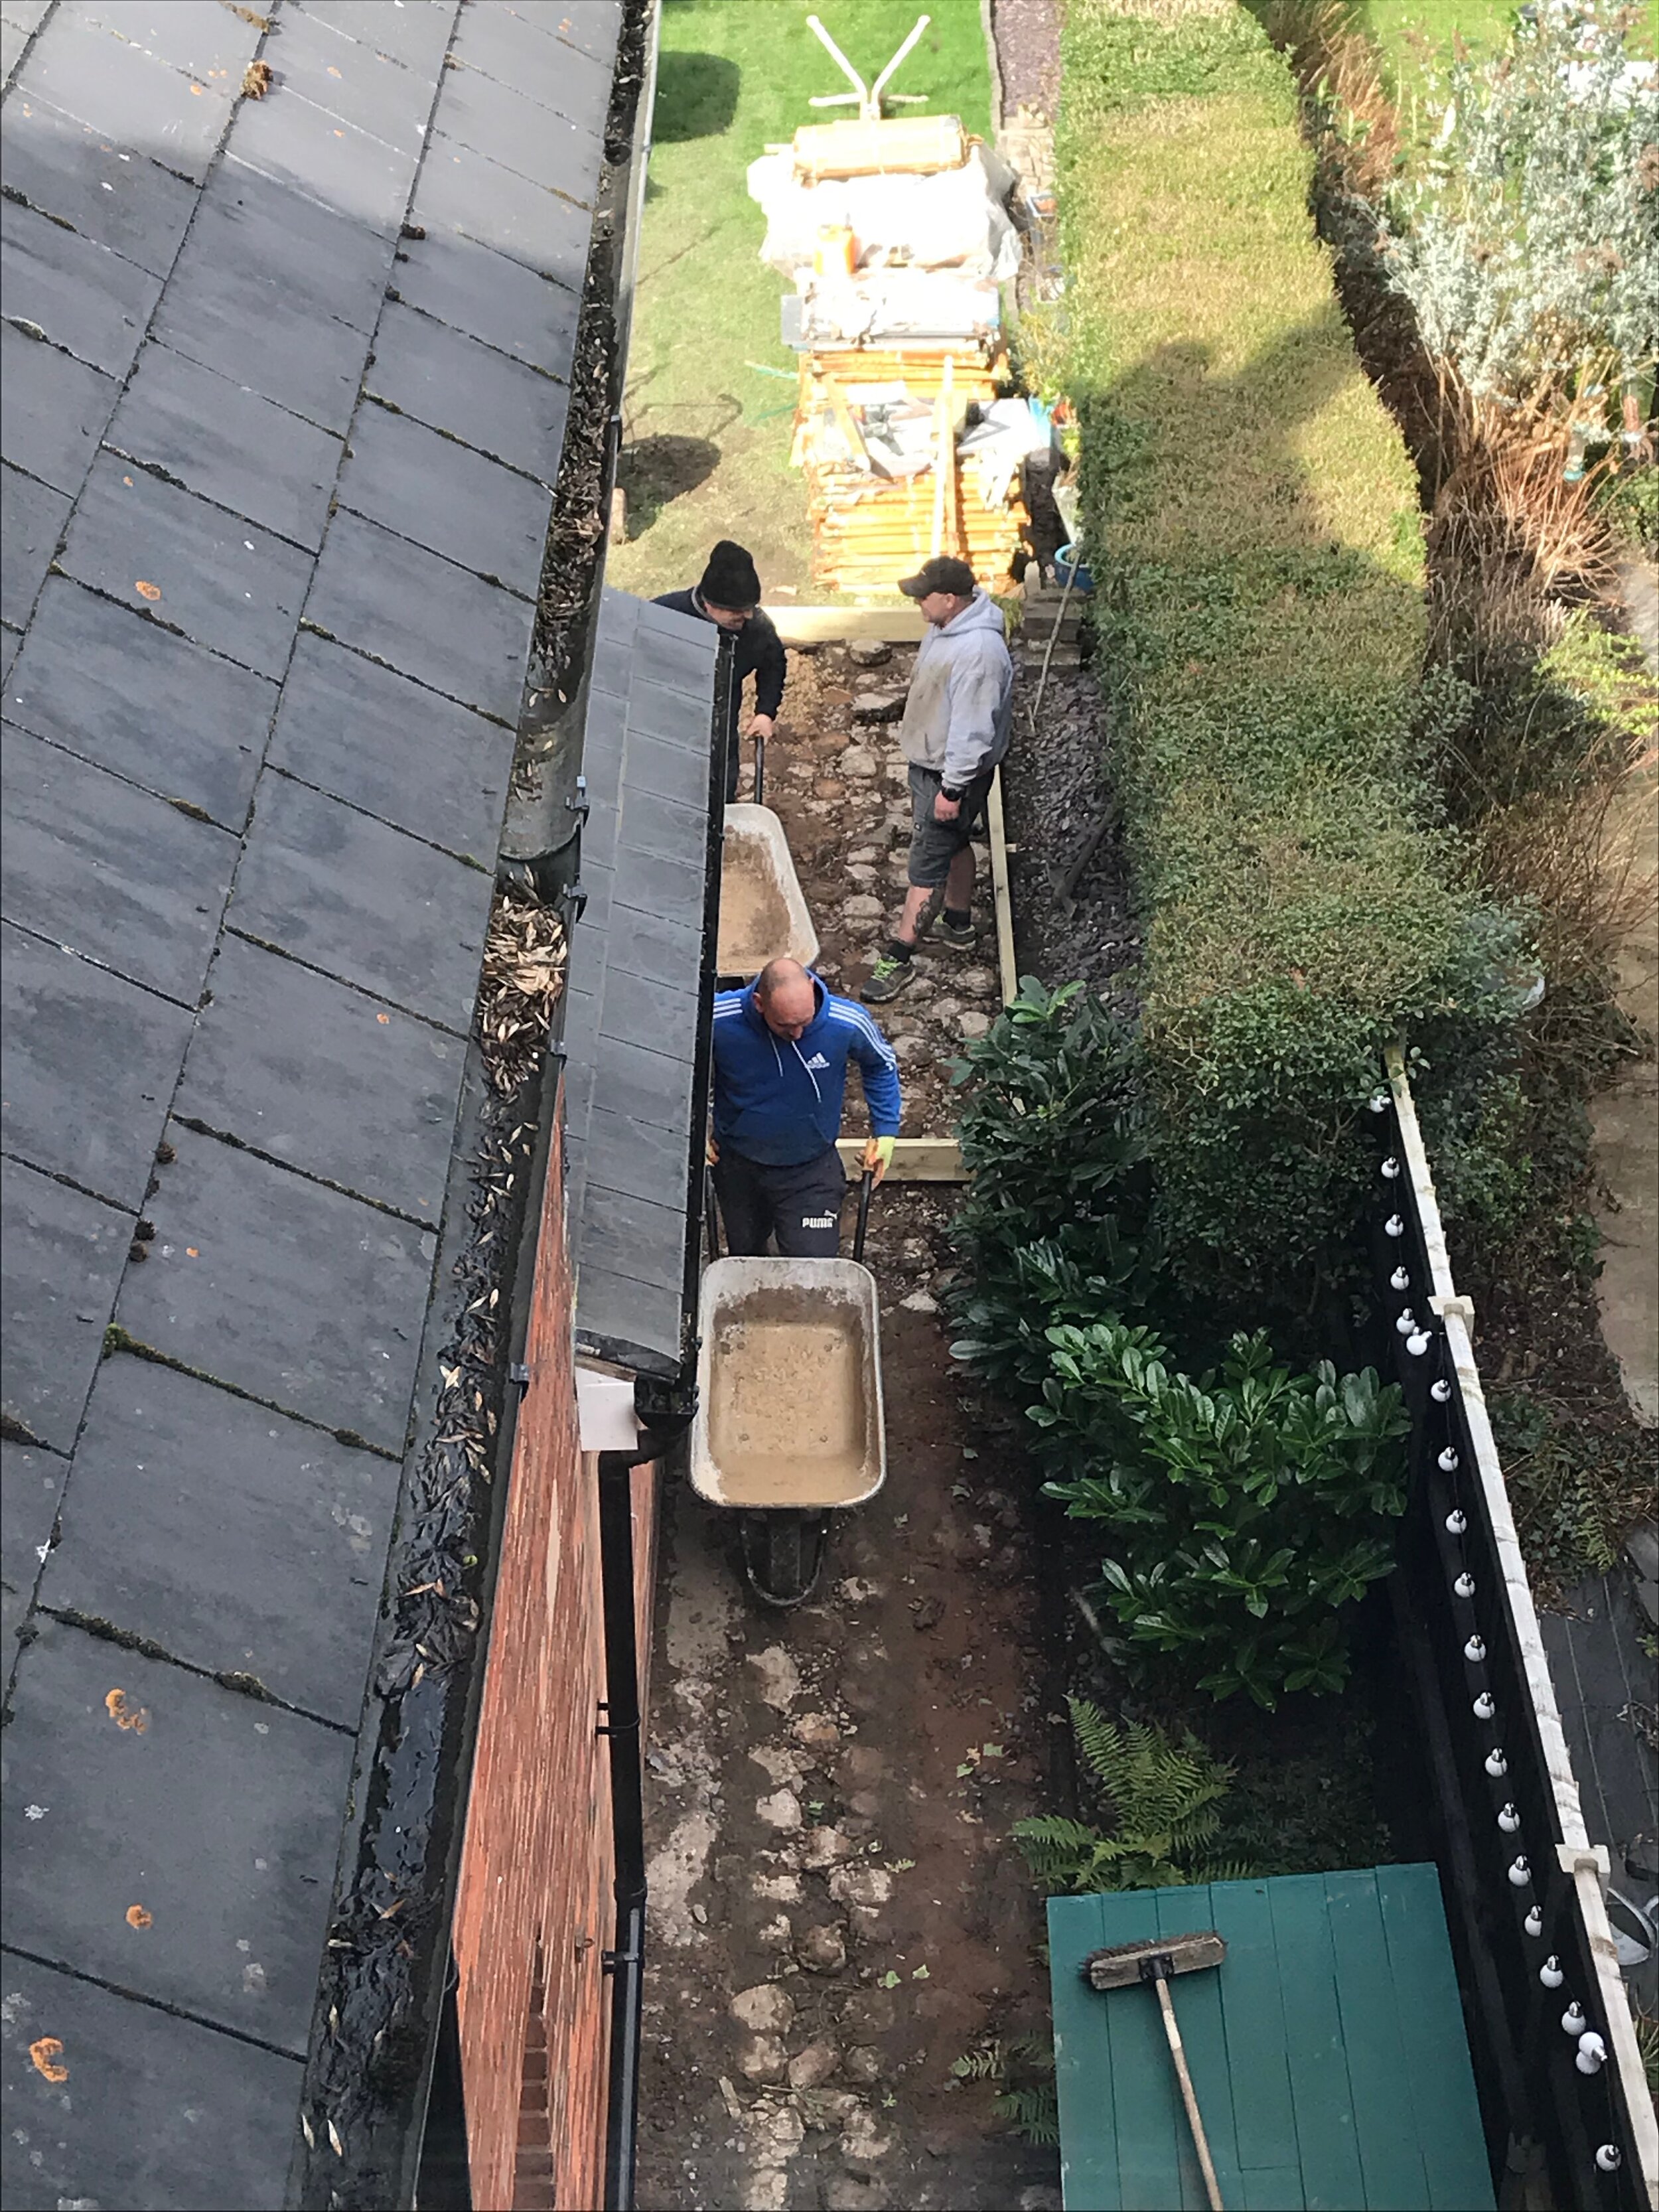


With their help we decided on a porcelain tile rather than natural stone due to their hard wearing nature. They are highly resistant to severe weather changes, so no cracking and are slip resistant due to low moisture absorption and most importantly for us are very low maintenance.
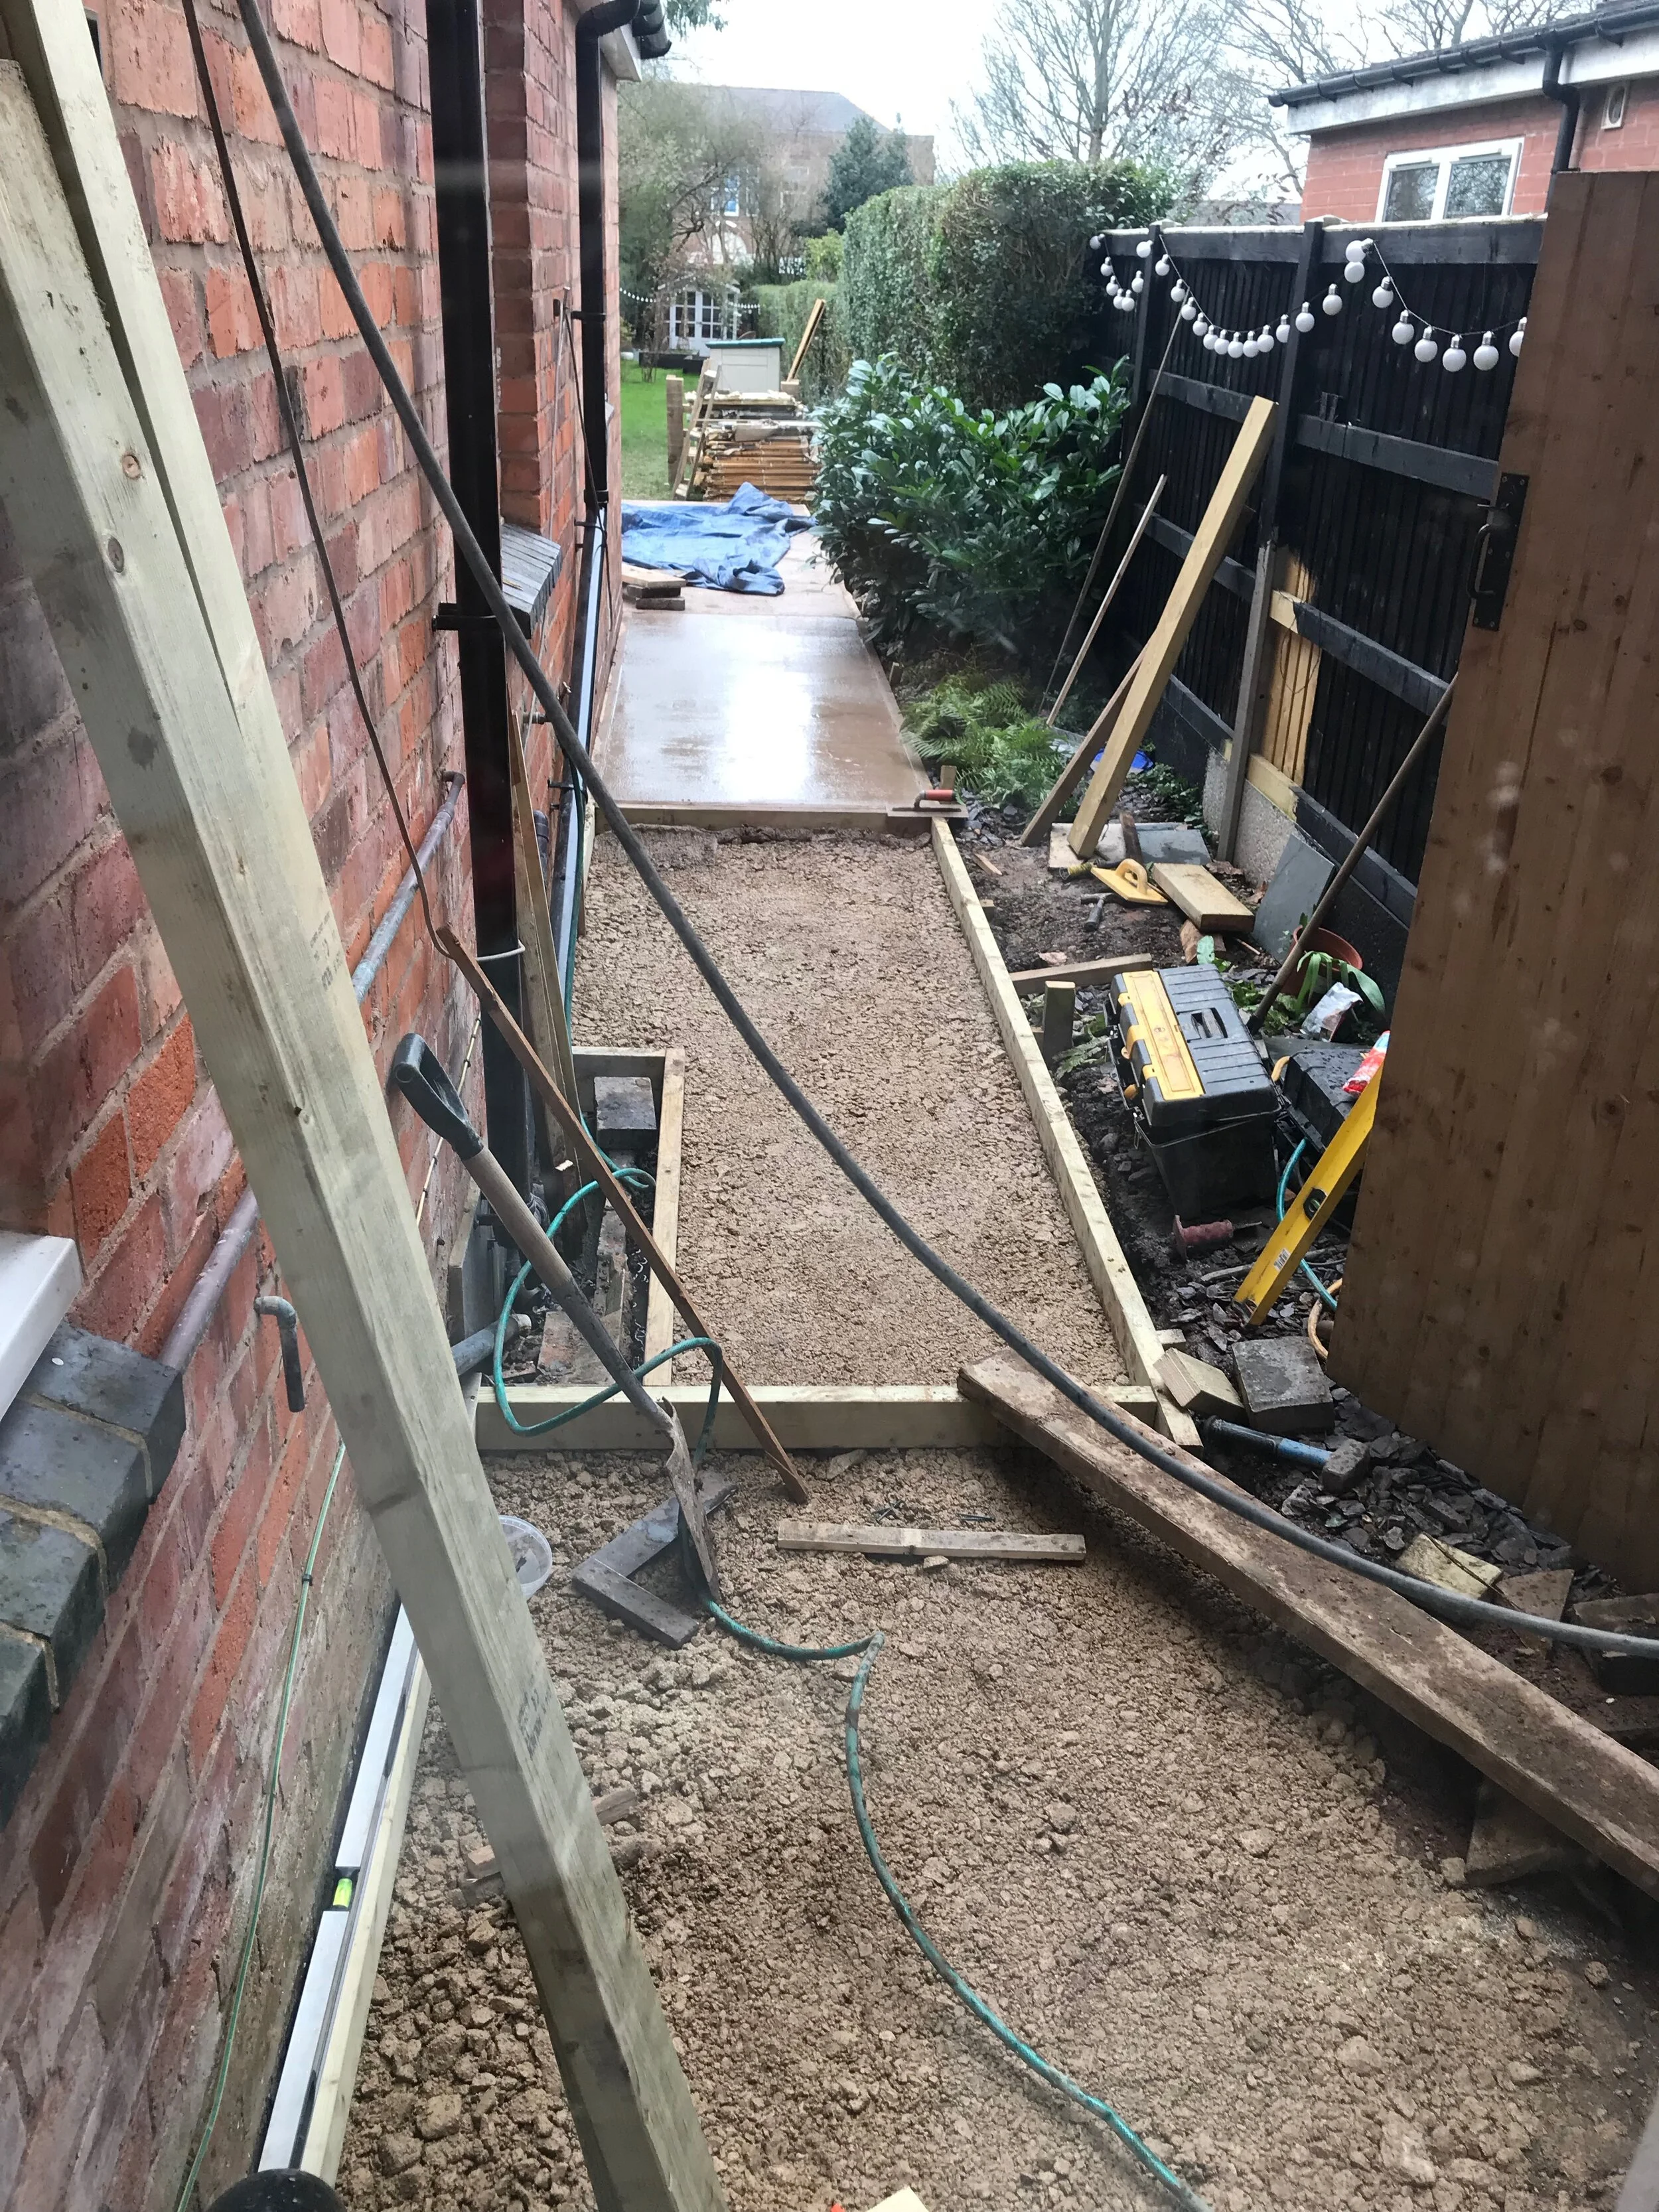
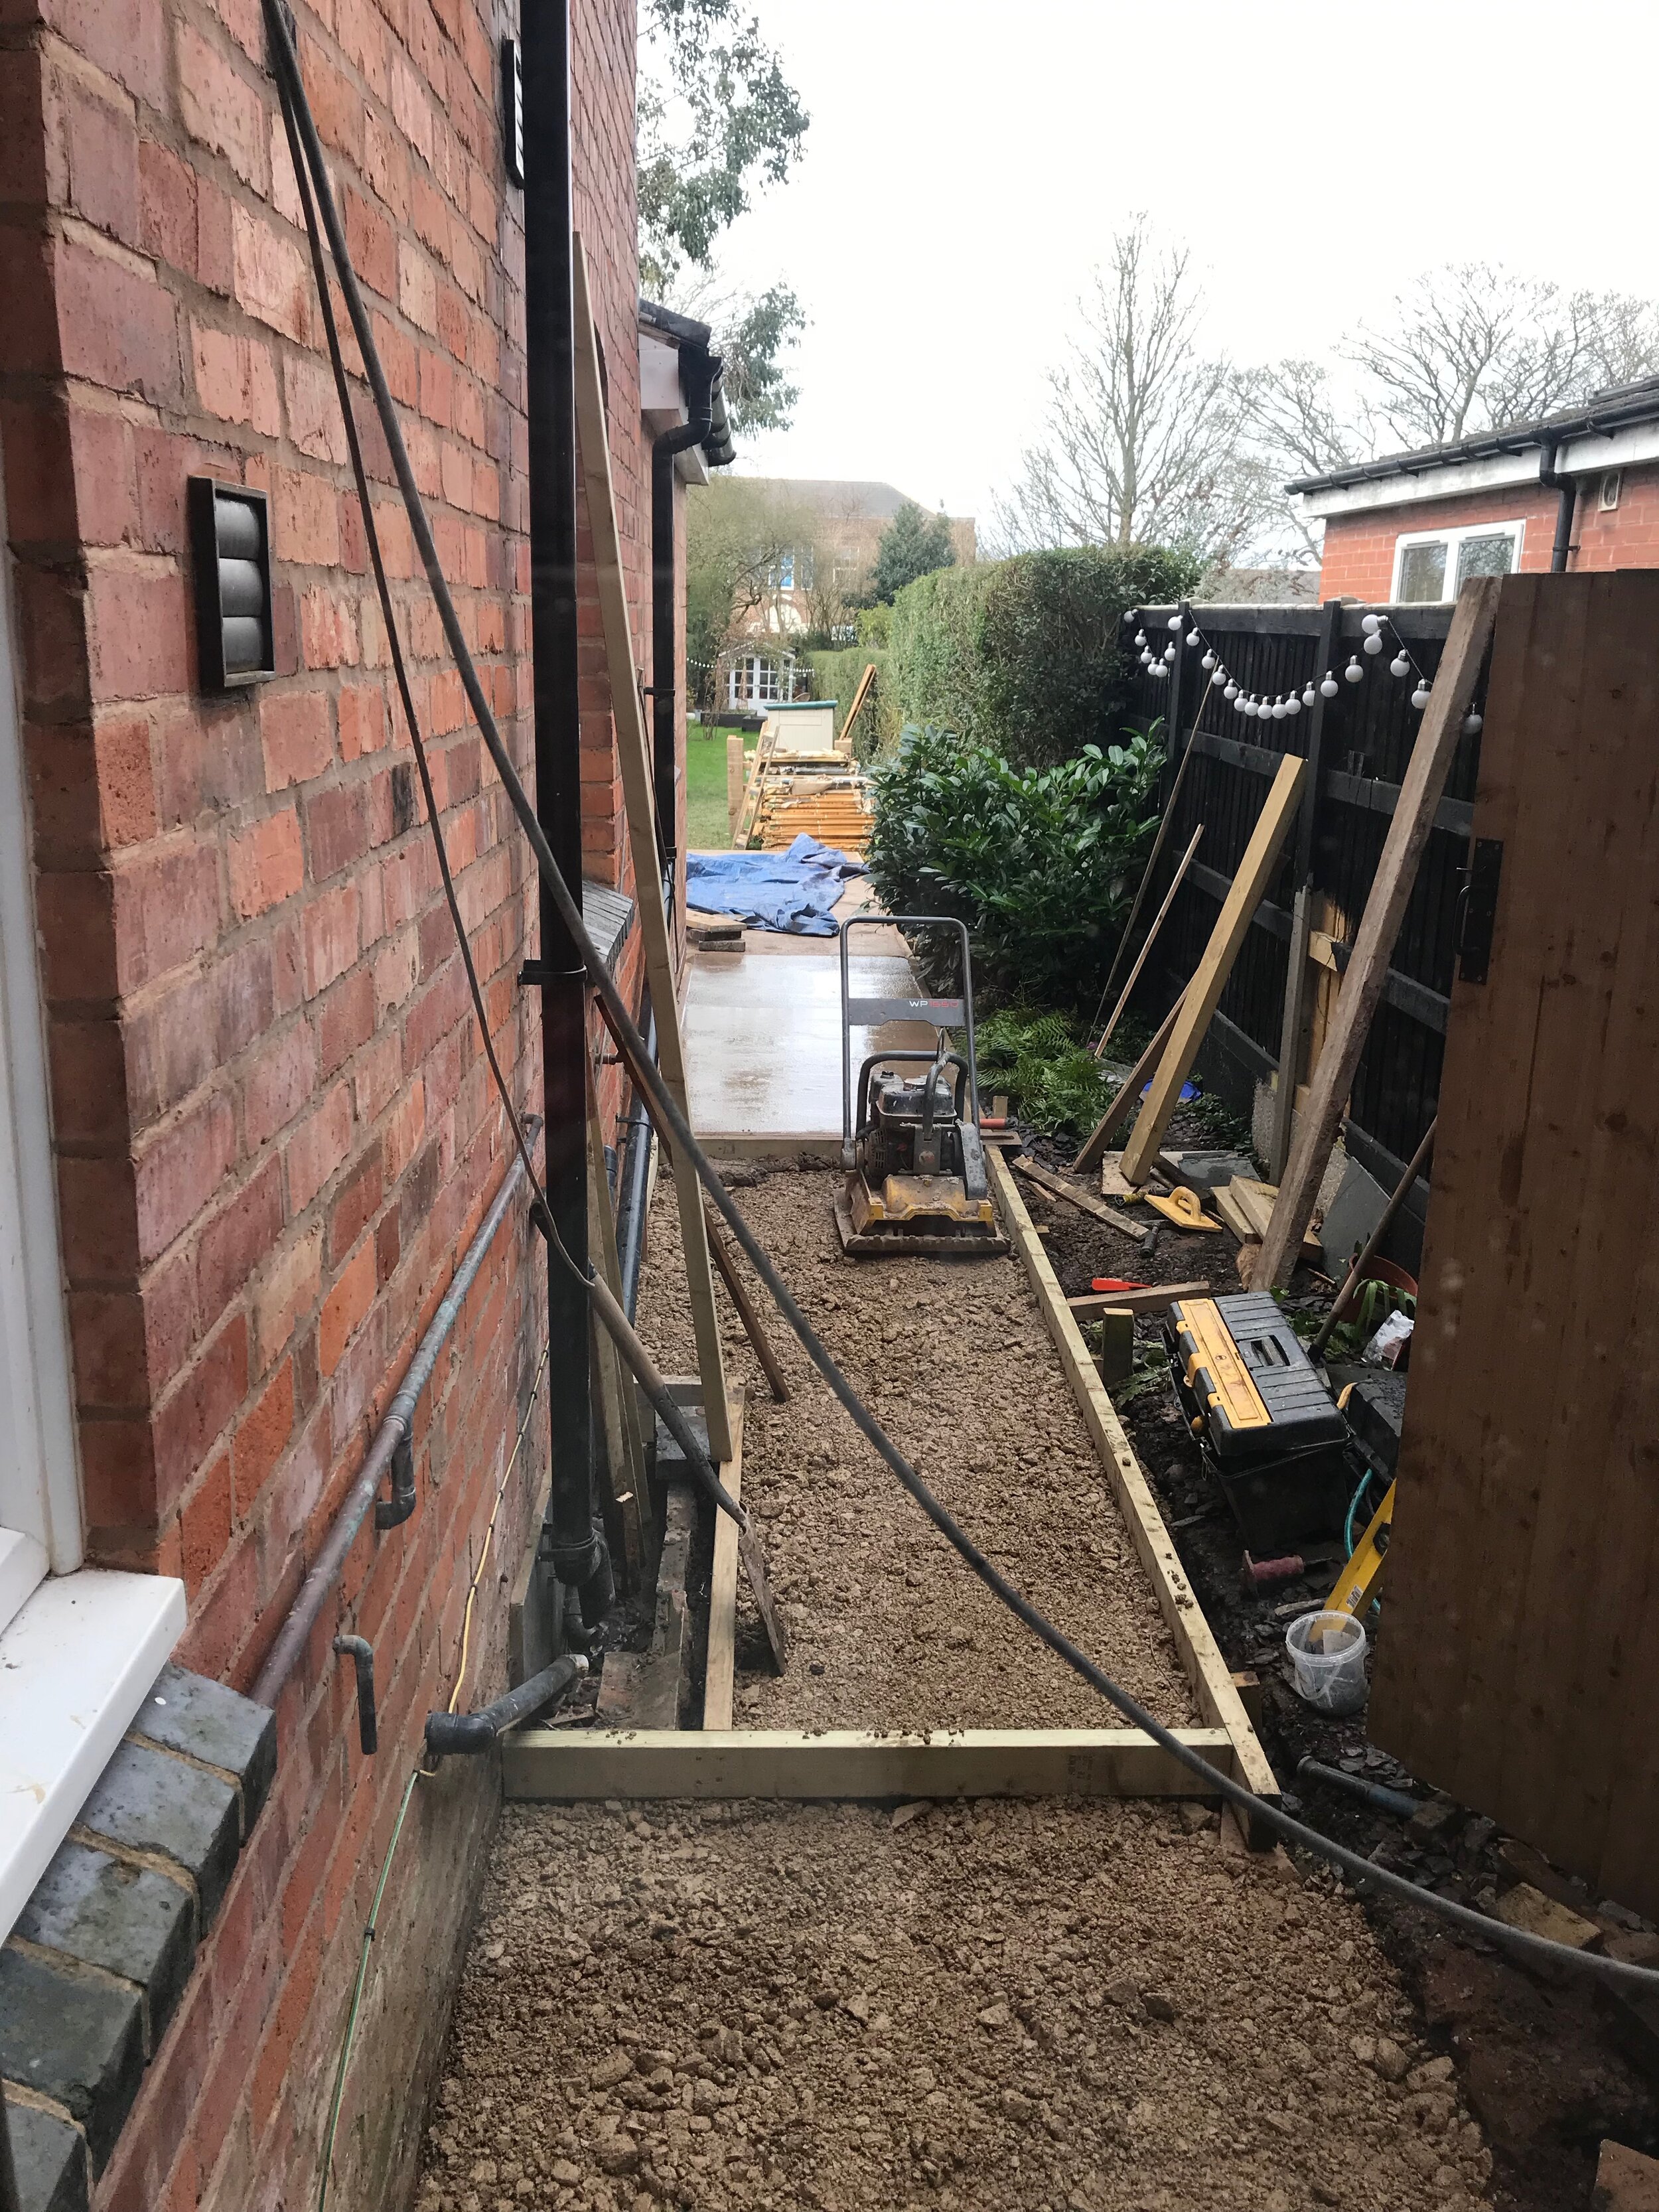
We chose Digby stone - Country Portland Black porcelain slabs which is a dark grey colour from www.Earlswoodglc.co.uk garden centre. The only downside we found is that porcelain slabs need to be laid very much like an indoor floor so we needed to build a wooden frame to create a level concrete base which added weeks to the build. You will also need to invest in special adhesive and grout specially formulated for porcelain slabs which proved to be an expensive unforeseen cost.


That all aside, once the patio was complete we could move on to the fun stuff and start building the furniture and plant beds! We replaced the old broken fences and painted them black. Greenery looks amazing against a black backdrop so this was always part of my vision for how it would look. We then built a large plant bed along one side of the patio out of railway sleepers (new not reclaimed) This would be the only permanent plant bed on the patio the rest of the planting would be in moveable large pots.
The patio space was on the footprint of the old patio and last year we decided to extend it further out by about 3 meters with a slightly lower wooden decked area. I wanted the contrast of the reclaimed scaffold boards we used against the grey stone and I love the look of the two together. This decked area could now be a dining area with a table and benches and the original stone patio is the seating area with a large L-shaped sofa, chairs and a fire pit. Our outdoor living ‘room’ was complete and we couldn’t be happier with the result.


If you found this blog useful take a look at the other blog pieces about how we made furniture, which plants I chose and why and all the details on those all important finishing touches such as accessories and lighting.
Theresa x